
Friday, February 14, 2014


Scor-Pal Father's Day card

I just found this one in my drafts folder and although it didn't photograph very well figured I'd post it anyway. This card is super fast to make but very striking. Give it for Father's Day or a masculine birthday. Just score every 1/2" on your base card, add the tie and you're done!
Party Your Little Heart Out!


Friday, February 7, 2014


Saturday, May 18, 2013
Copic REINKER storage
 This isn't for the Copic markers...but for their reinkers. For detailed view, click on largest photo. This organizational system is totally and completely mine. I did not see it anywhere at all. I have just been letting my brain 'think' about how to accomplish the storage neatly and it just 'came to me' one evening last week.
Photo 1: The storage pieces are all made from 8 1/2" x 11" cardstock. One piece of cardstock will make 1 tray with I-Beams (to separate & sturdy the sections) and 1 place-holder. 16 trays w/fit into a standard (12"x17") cardboard box.
This isn't for the Copic markers...but for their reinkers. For detailed view, click on largest photo. This organizational system is totally and completely mine. I did not see it anywhere at all. I have just been letting my brain 'think' about how to accomplish the storage neatly and it just 'came to me' one evening last week.
Photo 1: The storage pieces are all made from 8 1/2" x 11" cardstock. One piece of cardstock will make 1 tray with I-Beams (to separate & sturdy the sections) and 1 place-holder. 16 trays w/fit into a standard (12"x17") cardboard box.
 Photo 2: Each tray holds 17 reinkers so there are places for 272 Copic reinker bottles. The place-holders are a hollow tube and let me know if a reinker bottle is missing. E31 to the left of E33 is missing. C7 is missing and it's place-holder is to the left of N1.
 Photo 3 shows a place-holder for the missing reinker bottle YR14. Hopefully I w/find the missing ones when I clean off my craft table.
 Photo 4: I removed a tray so you could see what they look like close up. I took a few place-holders out of the tray to give you a better view. Please LMK if you have any questions.
Sunday, July 1, 2012
Let love bloom...on your birthday!
I found this really cool post that Cara did called Scrappy Background. It's the way she uses up her 1/4" scraps. Her blog is:
http://www.owhstarsandstamps.org/2012/05/tuesday-tutorial-scrappy-backgrounds.html
and I just finished making the card below, based on her post. She used 1/4" strips but mine was made with 1/2" strips. Next time I'll do some with the 1/4" strips. Anyway, please check out her blog because it's a great way to use up those scraps that keep accumulating.


Tuesday, May 15, 2012
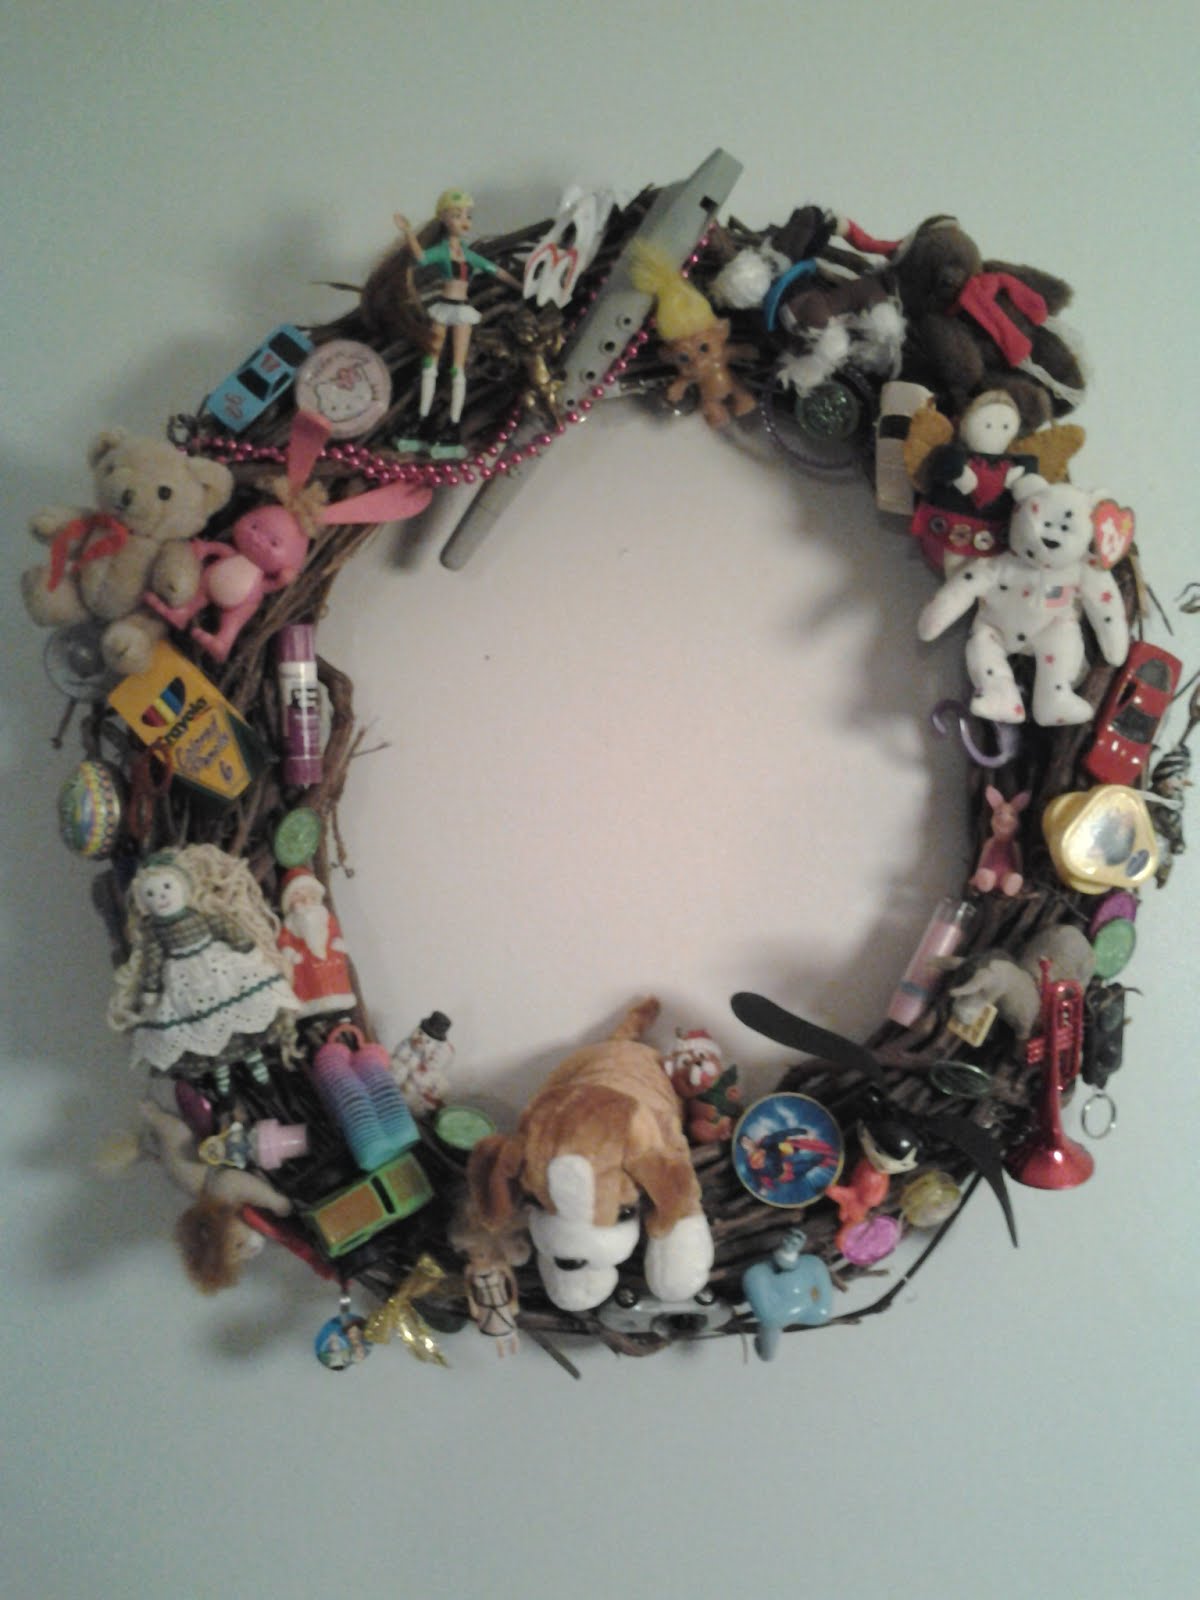
Toy Wreath
Tuesday, March 20, 2012
Digital Tuesday Challenge
I'm taking the 'Digital Tuesday is Just Peachy' challenge from the Digital Tuesday Challenge blog. My first card uses a digi design from Dustin Pike. Click on the picture to enlarge. I used the colorless blender to made the tail and ears plaid. 
My 2nd card is pretty much the same color scheme. I've been into peach and green lately so this challenge was right up my alley. I haven't used digi images very much so when I got this freebie, I forgot to put it in a folder so I'd know who it was from. Next time I won't forget. Hope you like these images.

My 2nd card is pretty much the same color scheme. I've been into peach and green lately so this challenge was right up my alley. I haven't used digi images very much so when I got this freebie, I forgot to put it in a folder so I'd know who it was from. Next time I won't forget. Hope you like these images.

Thursday, March 15, 2012
card for Emily

A little 7 year old girl by the name of Emily has been fighting leukemia since before December of 2011. She has had to endure more pain in one year then most adults in their entire life. She has gone from Leukemia to Rotavirus, to pancreatitis, to kidney stones then to shingles, not to mention over 300 pokes in her little tiny body. From chemo to blood draws to feeding tubes. She has definitely had her ups and her downs.
Dustin Pike would like to bless her by encouraging all of his blog followers to send her a card to brighten her day. Emily has a long life ahead of her and with the encouragement of her family and friends is fighting with all her strength.
I used a pre-colored Dustin Pike image for Emily Ziemathis' card. The caption inside the card says 'Easter Blessings'. I really loved this image when I first saw it. I thought about popping the eggs up but hated to cut up one of the colored images to do it. I plan to have my grandkids make Emily a card this weekend using this same design but they will do the coloring and design their own cards. I think I'll mail them all individually so Emily will have more mail to open.
Thursday, May 26, 2011
It's MY DAY to be GUEST DESIGNER over at TAC's Savvy Projects blog!!!
The Angel Company did a bloghop EVERY DAY in the month of May and I was a guest designer for them on May 23rd. To check out more entries, the link is: http://theangelcompany.typepad.com.

The week of May 22nd we used sketch 61 that was designed by my good friend and multi-talented ANGEL, Heather Scott.
 The faux scallop border was made by punching four circles, cutting them in half and butting them up against the 5 1/2" strip. Adhere to back with scotch tape. It's a great way to use your left over scraps so I hope this trick comes in handy for you. If you punch holes in the scalloped border, do it before adhering panel to card front. CLICK on any card to view an enlarged version.
ALL listed supplies available through TAC via your local Angel: Caboodles Set B (cardstock & Copic markers), Flowers Impressabilities Die, 3/4" circle punch, 2 1/2" circle punch, Lil' Cuties (special edition) stamp set, scissors, adhesive
Aren't you totally amazed at how very different our cards look when we all use the same sketch to begin with? My second card uses cardstock from TAC's paper collection called EMMA. I have changed the orientation of my card from landscape to portrait. The only other liberty that I took with the sketch was to add a thin scrap of patterned cardstock on top of the green strip.

ALL listed supplies available through TAC via your local Angel: Caboodles Set C (cardstock & Copic markers), pattern cardstock from the Emma Collection, kraft cardstock, 3/4" circle punch, 2 1/2" circle punch, Rolling By stamp set, scissors, hole punch, adhesive, Tuxedo Black Memento inkpad, Desert Sand Memento inkpad, hydra sponge
Rubber Hugs, Avis Anderson
Angel #0056 - Kansas

The week of May 22nd we used sketch 61 that was designed by my good friend and multi-talented ANGEL, Heather Scott.

ALL listed supplies available through TAC via your local Angel: Caboodles Set B (cardstock & Copic markers), Flowers Impressabilities Die, 3/4" circle punch, 2 1/2" circle punch, Lil' Cuties (special edition) stamp set, scissors, adhesive
Aren't you totally amazed at how very different our cards look when we all use the same sketch to begin with? My second card uses cardstock from TAC's paper collection called EMMA. I have changed the orientation of my card from landscape to portrait. The only other liberty that I took with the sketch was to add a thin scrap of patterned cardstock on top of the green strip.

ALL listed supplies available through TAC via your local Angel: Caboodles Set C (cardstock & Copic markers), pattern cardstock from the Emma Collection, kraft cardstock, 3/4" circle punch, 2 1/2" circle punch, Rolling By stamp set, scissors, hole punch, adhesive, Tuxedo Black Memento inkpad, Desert Sand Memento inkpad, hydra sponge
Rubber Hugs, Avis Anderson
Angel #0056 - Kansas
Thursday, May 19, 2011
another SKETCH card

Cardstock: V-376 Limeade, V-373 Marmelade, V-381 Whimsy
Copic Markers: V15, YR68, YG09
Inkpad: Tuxedo Black Memento
Stamp Set: When Spiders Are Seen
My card is brighter than it appears here. The cardstock circle actually has a way cool texture that you can't see . . . since I made a boo boo and ended up stamping on the back side of the cardstock. The cardstock and Copic markers are from our TAC Caboodle Sets D and E.

Tuesday, May 17, 2011
TAC's Savvy Projects Blog Hop for May is well underway!

During the month of May on TAC's Savvy Projects blog, there is a different sketch each week and a different Guest Designer featured every single day. All you have to do is check out the sketch, make a card using it and click on the linky to add your card. My robot card for the week of May 1st is below. I'm just now getting it posted. May's been a hectic month for me!

Monday, May 16, 2011
CABOODLES (Coordinating Cardstock & Copic Marker sets)
I love that The Angel Company (TAC) has paired packs of cardstock that coordinate perfectly with the oh-so-popular Copic markers and have created 7 different sets (set A to set G) called CABOODLES! It certainly makes the whole process of matching papers to markers a breeze since it's already been done for us by TAC. If you are interested in learning more about these awesome sets, email me at kcangel@embarqmail.com.
Subscribe to:
Posts (Atom)